How to Create Animated Social Media Content in Adobe Express
Your social media graphics don't have to stay still! Adding even a little movement can completely change the way someone experiences your content.
Welcome back to Express Your Style, a five-part creative series exploring different ways to create engaging social media content using Adobe Express.
For our fourth Design Study, we're doing things a little differently. Instead of focusing on one specific visual aesthetic or building a mood board, we're exploring animation and a few creative ways to use movement inside Adobe Express. Because that's one of my favorite things about animation: it isn't tied to one particular design style.
Whether your content is colorful and maximalist, clean and minimal, playful and scrapbook-inspired, or completely unique to your own brand, animation can become another tool in your creative toolbox.
For this Design Study, I'm breaking down three different effects you can recreate and customize: an envelope reveal, a printing photo strip, and animated typography.
Why Add Animation to Your Content?
Animation is an easy way to make an otherwise static design feel more engaging, but movement can do much more than simply grab someone's attention, and you don't necessarily need complicated animation to make an impact.
Sometimes a photo moving across the screen, a message being revealed, or a few words appearing at just the right moment is enough to completely change how someone experiences your design.
The biggest thing I like to remember is that animation should have a purpose. Instead of asking, "How can I make everything move?" try asking, "What could movement add to this design?"
That's exactly what we're experimenting with in these three projects.
Animation One: Envelope Reveal
For our first project, we're creating a promotional graphic that appears to emerge from an envelope.
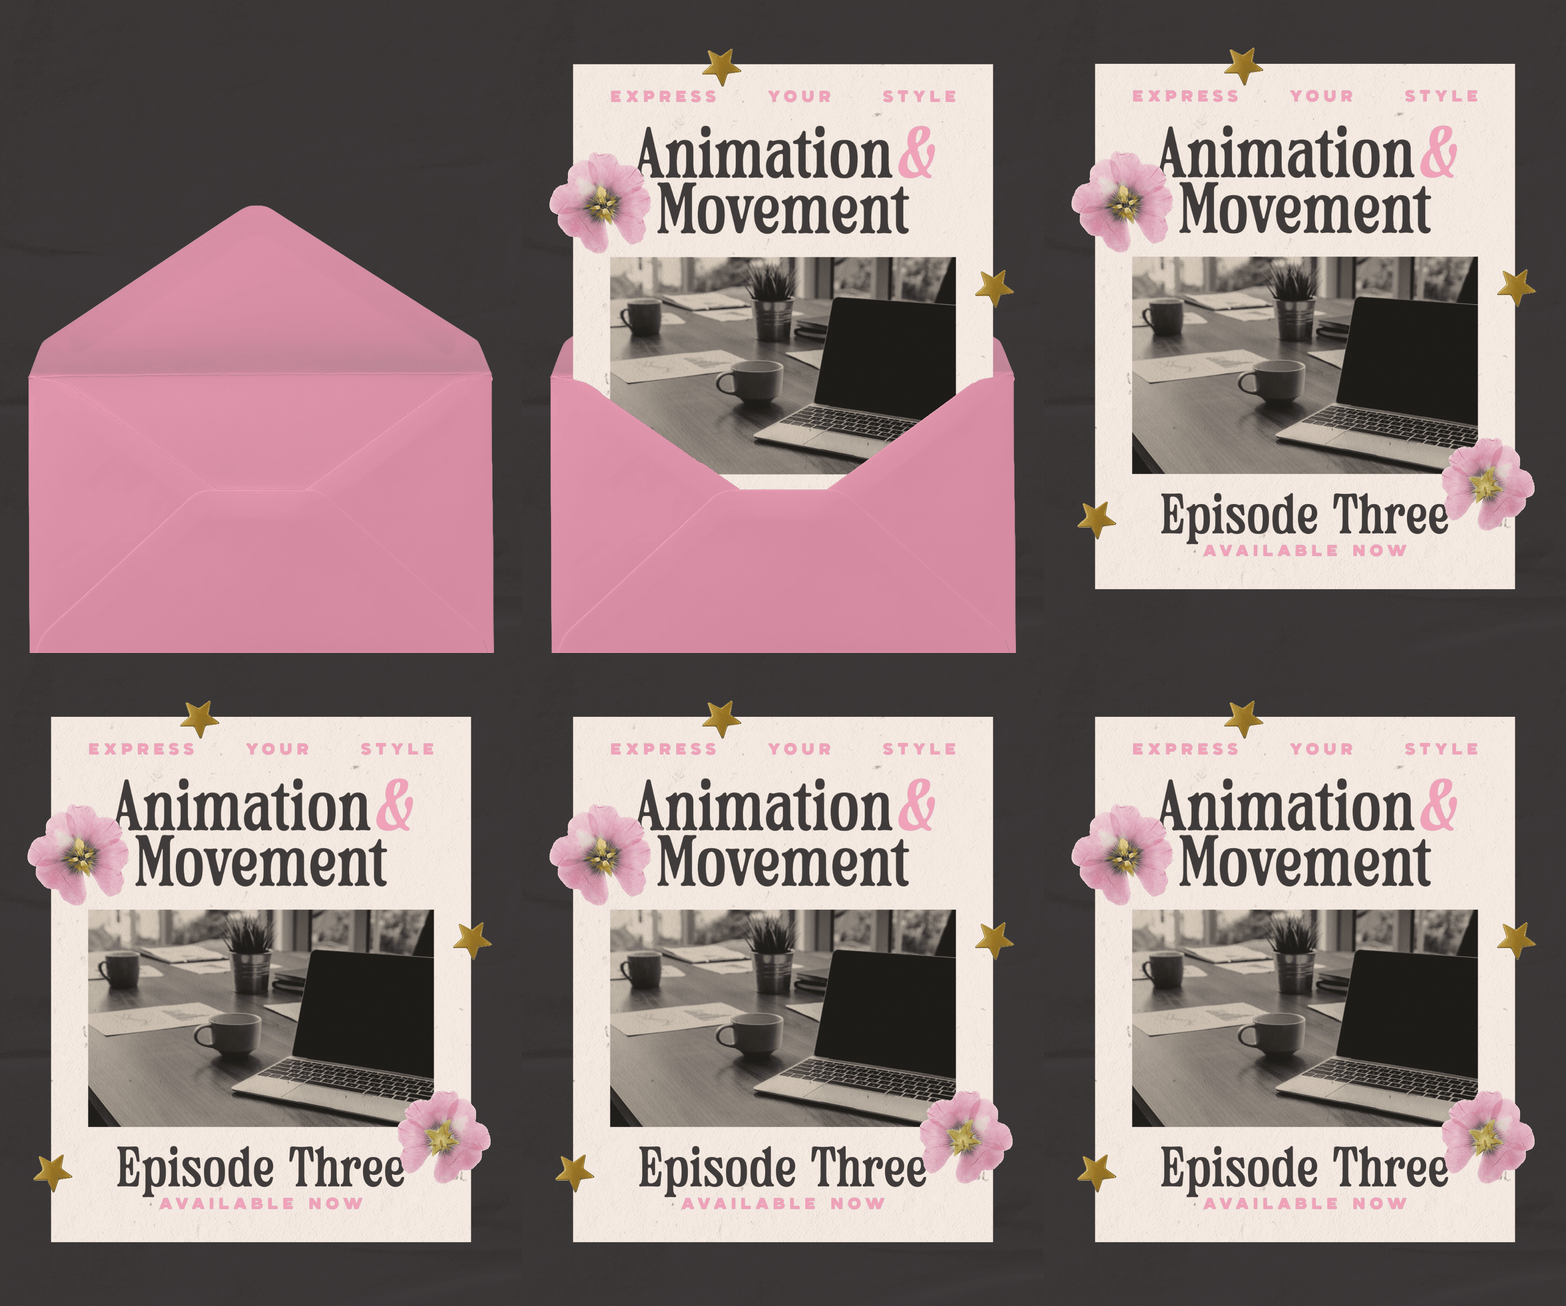
This effect looks much more complicated than it actually is because the real trick isn't the animation itself.
It's layering.
I'm starting with a simple promotional graphic created inside Adobe Express. This could easily become an invitation, announcement, product launch, event promotion, special offer, or any other piece of content where a reveal makes sense.
Step 1: Create Your Announcement
I find it easiest to design the announcement separately before I begin animating.
Once the design is finished, download it as a PNG and bring it back into your animation project as one image.
This keeps all of your individual design elements together so you only have one object to worry about once you start adding movement.
Step 2: Find Your Envelope
Head into the Adobe Express asset library and find an envelope that works with your design.
Once you've chosen one, you can use the Duotone effect to adjust its colors and make it feel more cohesive with your existing palette.
Step 3: Create Your Layers
Duplicate your envelope.
On the second copy, use the Erase tool to remove the flap and back portion of the envelope so you're left with only the front.
Now you'll have three main elements:
Your full envelope
Your announcement or invitation
The front portion of your envelope
Place the full envelope behind your invitation and the cropped front portion in front.
Your invitation is now sandwiched between the two envelope layers, creating the illusion that it's physically sitting inside.
Step 4: Add Movement
Select your invitation, navigate to In Animations, and choose Rise.
Next, select your envelope pieces and navigate to Out Animations. Choose Drop, turn Fade off, and make sure the envelope is set to completely exit the screen.
You can also add additional graphics like flowers, stars, or other decorative elements and give them the same Rise animation as your invitation.
Step 5: Adjust the Timing
Finally, use the timeline to control when everything happens. For my version, I'm having the invitation begin rising first and setting the envelope's Drop animation to start about two seconds later.
A few layers, two simple animations, and some intentional timing create an effect that feels much more dimensional than the individual pieces actually are.
Animation Two: Printing Photo Strip
Next, we're creating an old-school photo strip that appears to print onto the screen.
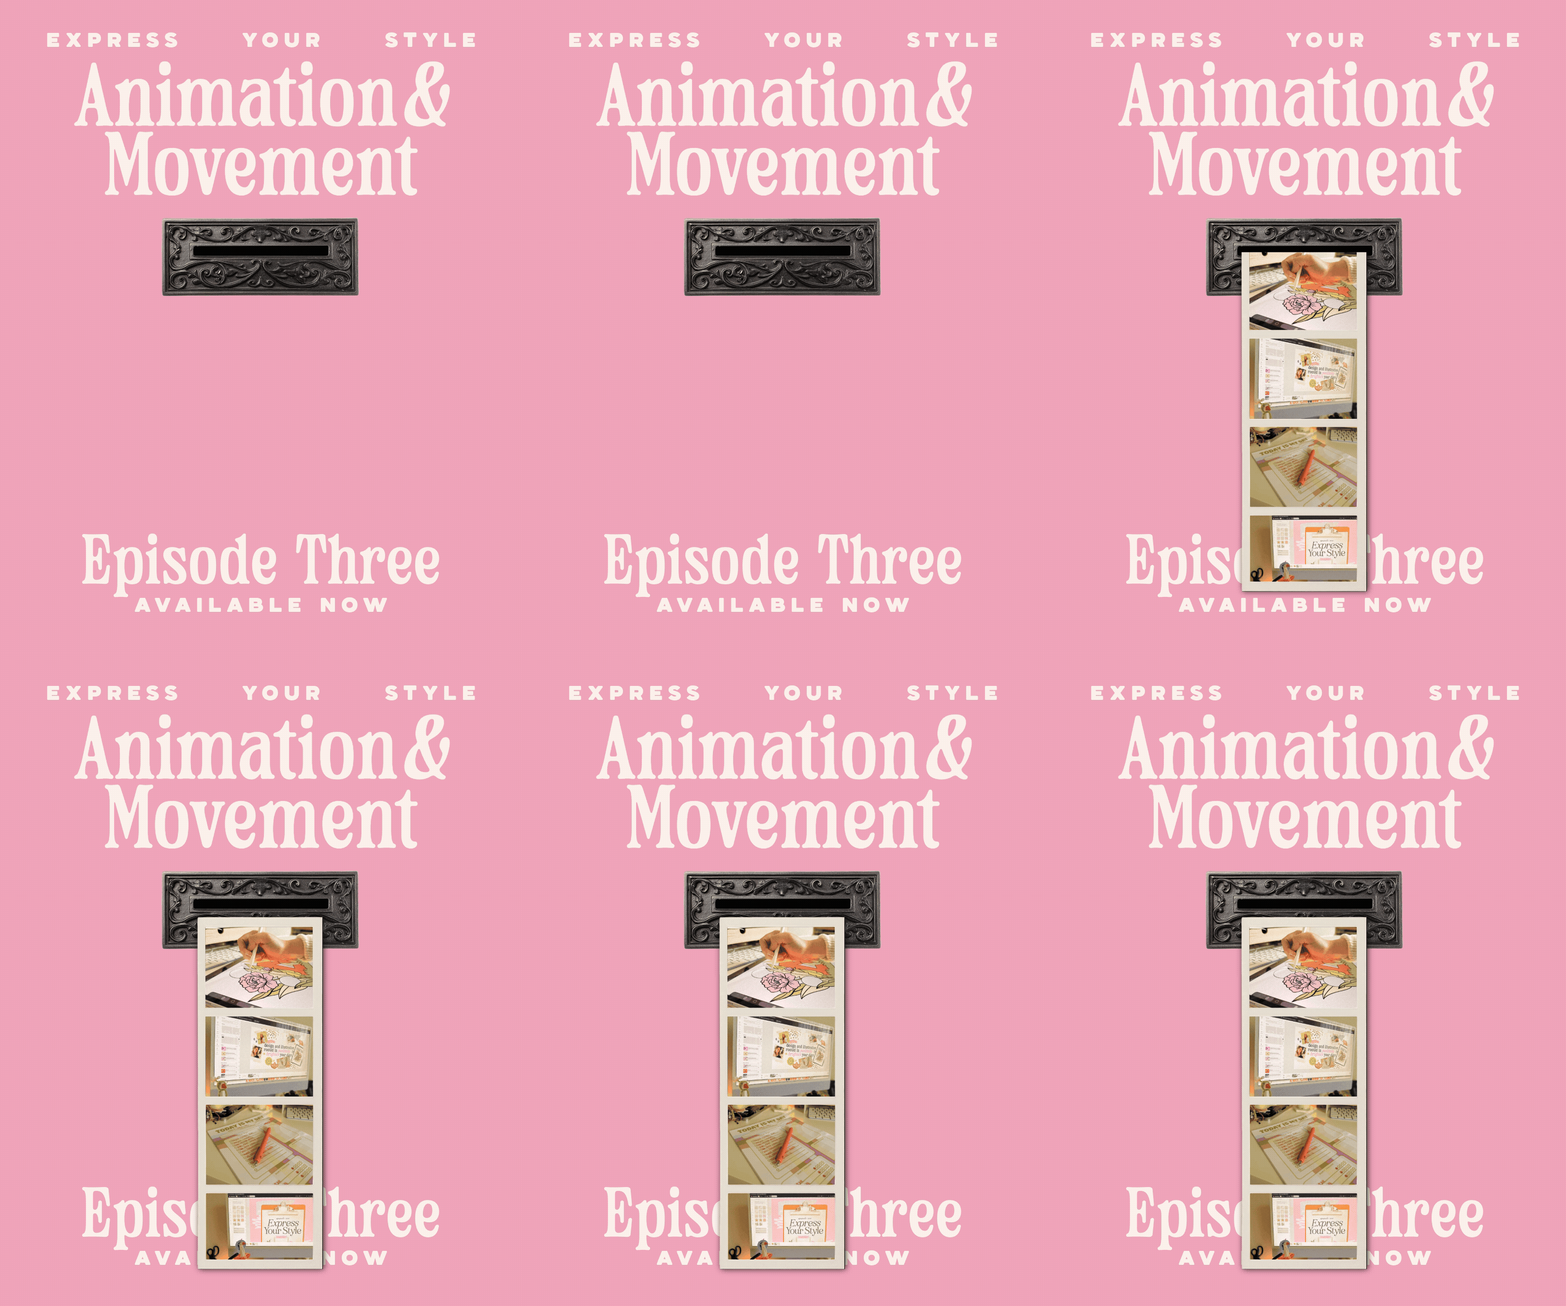
This one uses another really simple design trick: hiding part of an animated element so the viewer only sees what you want them to see.
Step 1: Create Your Photo Strip
Start by designing the entire photo strip separately.
Add your photos, establish consistent sizing and spacing, and once everything looks the way you want it, download the finished strip as one PNG.
Again, this lets us animate the entire strip as one object instead of trying to coordinate the movement of several individual photos.
Step 2: Create Your Printer Slot
Head into the Adobe Express asset library and search for a metal slot or similar element.
Position the slot where you want your photo strip to emerge.
Then duplicate it.
Crop the second copy so only the top portion of the slot remains.
Step 3: Layer Your Photo Strip
Bring your photo strip PNG into the project and position it where you want it to end once the animation is complete.
Make sure the cropped top portion of your metal slot is layered above the photo strip.
Then select the photo strip and apply the Drop In animation.
At this point, the basic movement is there, but we have one little problem.
We can see the photo strip above our slot before it's supposed to appear.
So we're going to fake a mask.
Step 4: Hide the Photo Strip
Add a simple square or rectangle to the top portion of your design.
Change it to the exact same color as your background.
Then arrange your layers so the shape sits behind your metal slot but in front of your photo strip.
The photo strip is still moving behind the shape, but because the shape blends perfectly into the background, we only see the portion that's supposed to be emerging from the slot.
And suddenly, our simple Drop animation looks like an old-school photo strip actually printing onto the screen.
Animation Three: Animated Typography
For our final project, we're keeping things a little simpler and using typography to create movement.
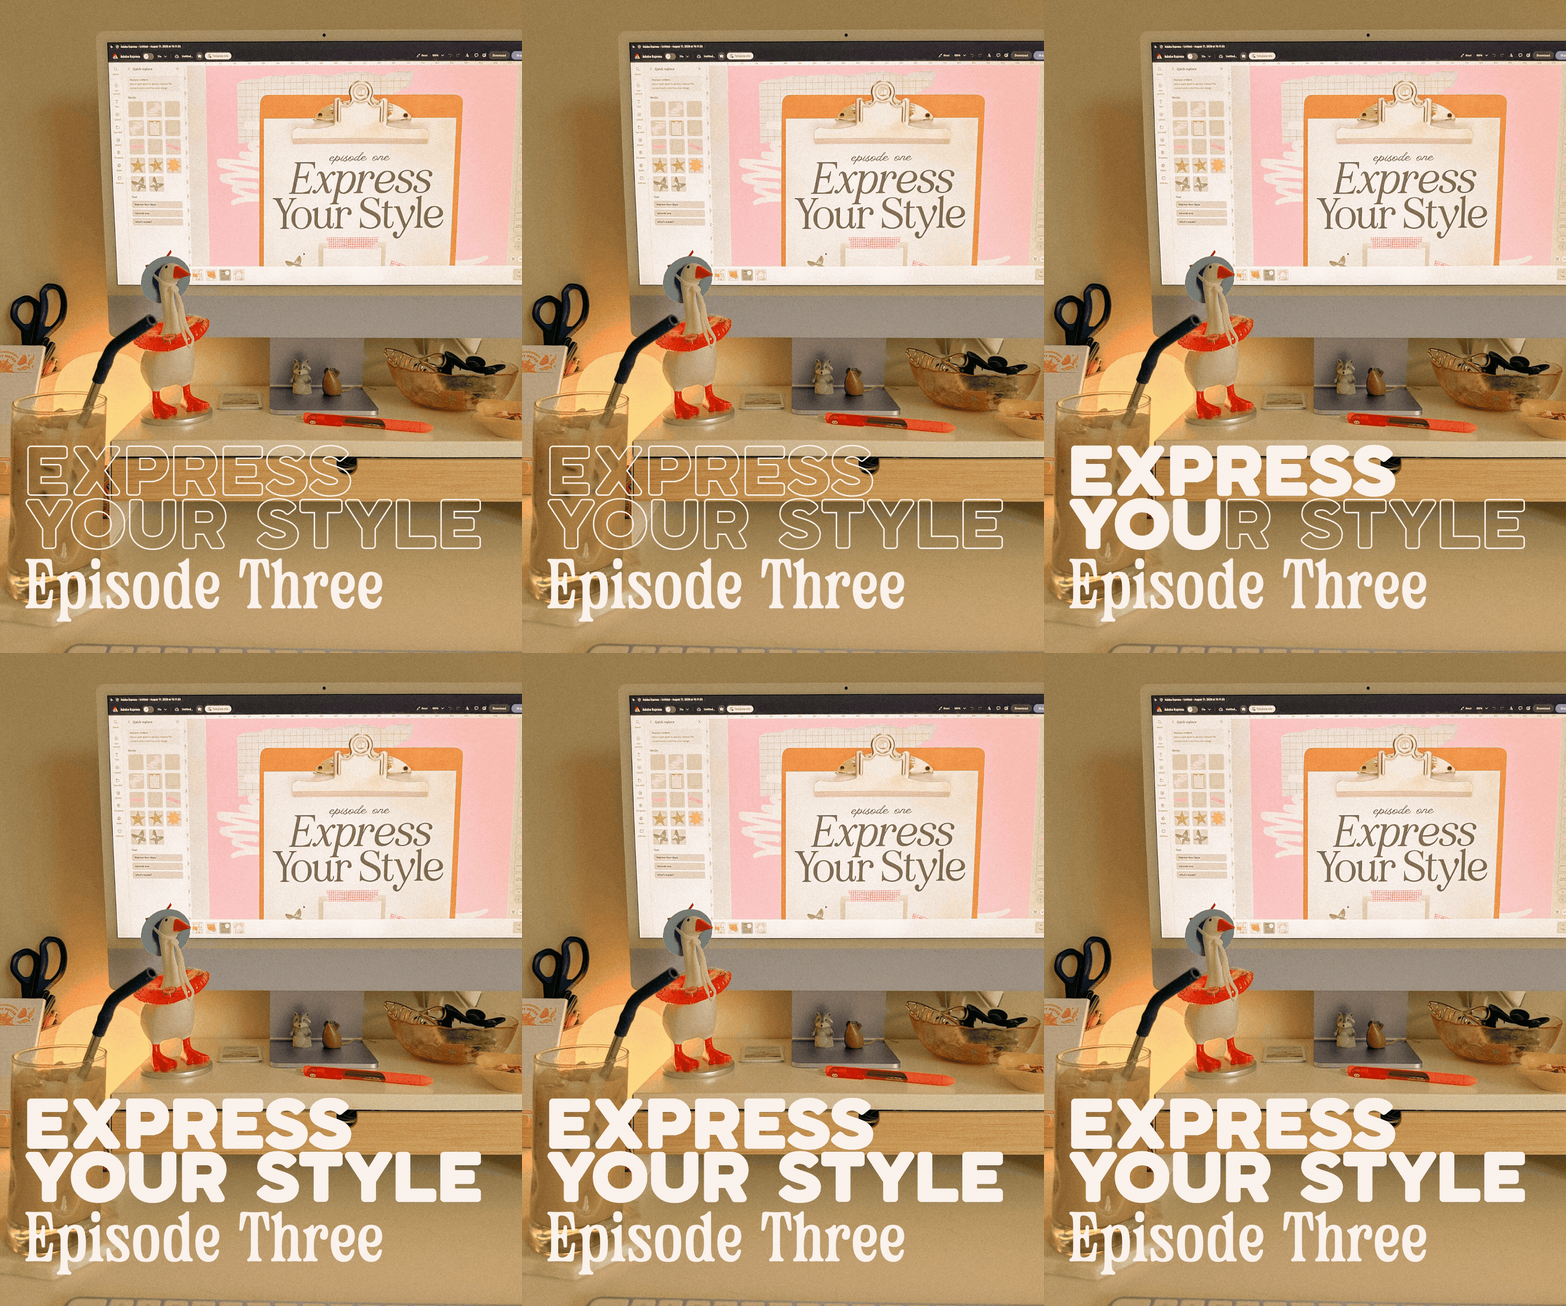
This is a great option when your design already has a strong photograph or other visual and you want to introduce animation without overwhelming everything else.
Step 1: Build Your Design
Start by adding your image to the canvas.
Then use the Type tool to create the message you want to animate.
Get your typography exactly where you want it before moving on to the effect.
Step 2: Create Two Versions of Your Type
Duplicate your typography.
Keep one version filled in normally and turn the second copy into an outlined version of the same text.
Position both versions in exactly the same location.
Step 3: Add Your Animation
Take the filled version of your typography and apply the Typewriter animation.
Keep your outlined version positioned directly over the same area.
As the animation plays, the outline establishes the full message while the filled typography animates across it.
It's a really simple effect, but that's exactly why I like it.
The movement adds personality and visual interest without competing with the rest of the design.
The Secret Is Usually Simpler Than It Looks
One of my favorite takeaways from experimenting with animation is realizing how many effects are really just combinations of basic tools.
Our envelope reveal uses layering + timing. Our photo strip uses movement + masking. Our typography uses type + layering.
None of them require an incredibly complicated animation. Instead, we're taking tools already available inside Adobe Express and combining them in slightly unexpected ways. The next time you're creating a static design, try asking yourself:
What could move? What could be revealed? What could disappear? What could interact with another element?
Sometimes answering just one of those questions is enough to turn a simple graphic into something much more dynamic.
Ways to Make These Animation Effects Your Own
These projects are meant to be starting points, not rules.
Once you understand how each effect works, think about how you could apply the same technique to completely different content.
Try using the envelope reveal for:
Invitations
Product launches
Event announcements
Special offers
Save the dates
New collection reveals
Use the printing photo strip for:
Travel memories
Product photography
Portfolio work
Event recaps
Behind-the-scenes photos
Life lately content
Or use animated typography for:
Quotes
Campaign messaging
Announcements
Reel or Story graphics
Promotional content
Personal brand posts
The animation technique can stay exactly the same while the visual style changes completely.
That's what makes these effects so versatile.
Remix the Templates in Adobe Express
Want to skip the blank canvas and start experimenting?
I've made all three designs available as remixable Adobe Express templates so you can customize them with your own colors, fonts, photography, messaging, and brand elements.
Use them exactly as they are, completely transform them, or simply use them as a starting point for your own scrapbook-inspired content.
Express Your Style
That's a wrap on Design Study 04!
Unlike our first three episodes, today's goal wasn't to recreate one specific aesthetic. Instead, we explored how movement itself can become another part of your design toolkit.
Whether your content is minimal, maximalist, scrapbook-inspired, or completely your own, animation can help you reveal information, guide someone's attention, tell a story, or simply add a little unexpected personality. And you don't need to make everything move.Sometimes one intentional animation is all a design needs.
Next up, we're wrapping up Express Your Style with our fifth and final Design Study as we explore Lifestyle & Personal Brand Content and how photography, storytelling, typography, and subtle design details can make everyday content feel intentional without feeling overly designed.
I'll see you in Design Study 05!